Table of Contents
How To Build A Home Recording Studio
Creating a home recording studio is an exciting venture for any aspiring music producer or hobbyist looking to record music in the comfort of their own home. With the right equipment and setup, you can transform a spare room or corner of your house into a professional-quality recording studio. This guide will walk you through the essential steps to build a home recording studio, from selecting the right gear to understanding acoustic treatment and optimizing your workspace for music production.

What Equipment Do I Need to Build a Home Recording Studio?
Essential Recording Gear for Your Home Studio
To build a home recording studio, you need to invest in essential recording gear that will enable you to capture high-quality audio. The most critical components include a microphone, audio interface, studio monitors, and a digital audio workstation (DAW). A good microphone is vital for recording vocals and instruments, while an audio interface serves as the bridge between your microphone and your computer, converting analog signals into digital audio files. Studio monitors are crucial for accurate sound reproduction, allowing you to hear your recordings as they truly are. Additionally, a reliable DAW, such as Pro Tools or FL Studio, is necessary for recording, editing, and mixing your music.
Choosing the Right Microphone for Your Needs
When selecting a microphone for your home recording studio, consider the type of music you plan to record and the environment in which you’ll be recording. Dynamic microphones are great for live performances and can handle high sound pressure levels, making them ideal for recording loud instruments like drums. On the other hand, condenser microphones are excellent for capturing vocals and acoustic instruments due to their sensitivity and frequency response. It’s essential to choose a microphone that fits your specific recording needs, as this will significantly impact the quality of your recordings.
Understanding the Role of an Audio Interface
The audio interface is a crucial piece of equipment in any home studio setup. It allows you to connect your microphones and instruments to your computer, enabling you to record music with high fidelity. When choosing an audio interface, look for one with multiple inputs and outputs, low latency, and high-quality preamps. This will ensure that you can record multiple tracks simultaneously and achieve a professional sound. Additionally, many audio interfaces come bundled with music production software, which can be a great way to get started without breaking the bank.
How to Set Up a Home Recording Studio for Music Production?
Creating an Efficient Home Studio Setup
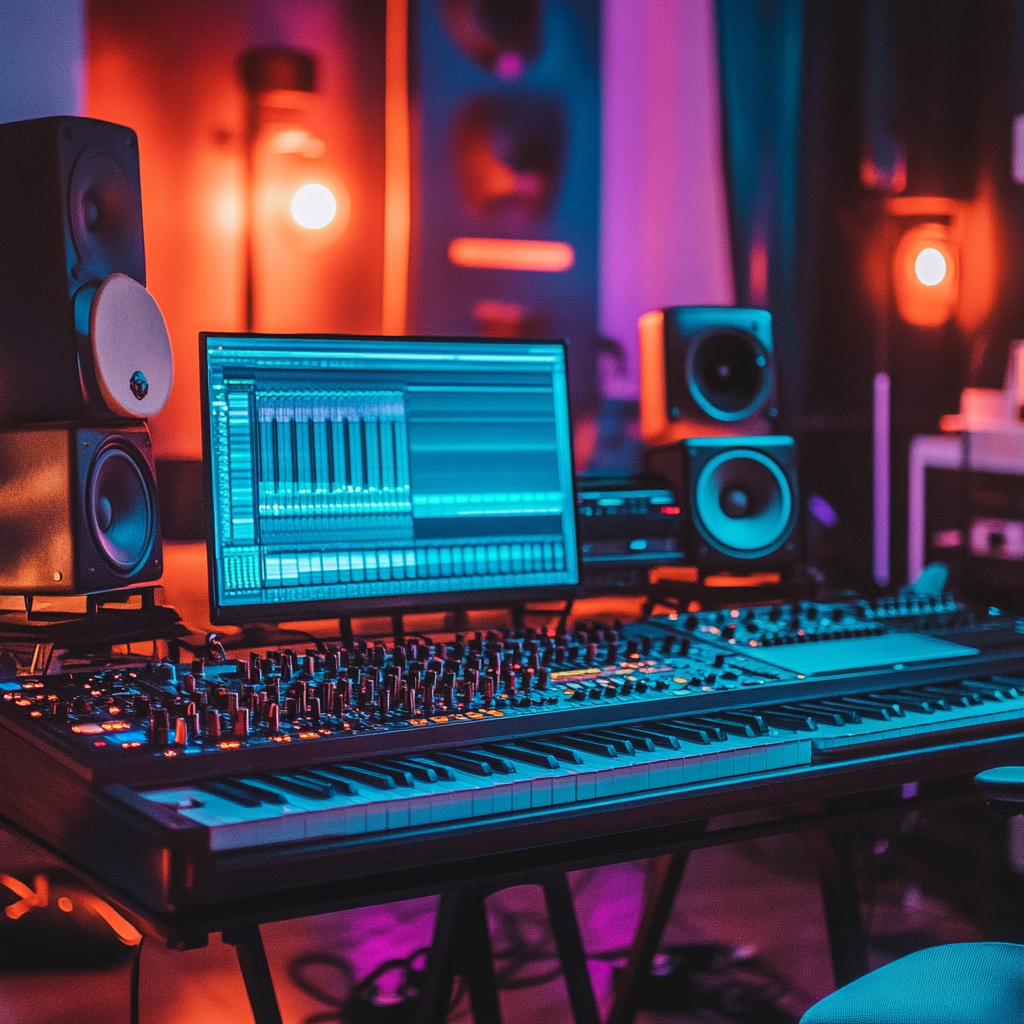
Setting up a home recording studio requires careful planning to create an efficient workspace. Start by selecting a quiet room with minimal background noise, as this will help you achieve quality recordings. Arrange your studio desk in a way that allows easy access to your audio interface, microphone, and studio monitors. Ensure that your studio computer has sufficient RAM and processing power to handle music production software and multiple audio tracks. A well-organized home studio setup will enhance your workflow and make it easier to focus on making music.
Choosing the Best Digital Audio Workstation (DAW)
Your choice of digital audio workstation (DAW) will significantly influence your music production experience. Popular DAWs like Pro Tools, FL Studio, and Ableton Live offer various features tailored to different styles of music production. When selecting a DAW, consider factors such as ease of use, available plugins, and compatibility with your audio interface. A user-friendly DAW will allow you to focus on recording and mixing without getting bogged down by technical issues. Take advantage of free trials to find the software that best suits your needs.
Setting Up Studio Monitors for Optimal Sound
Studio monitors are essential for accurate sound reproduction in your home recording studio. When setting up your studio monitors, position them at ear level and form an equilateral triangle with your listening position. This setup will help you achieve a balanced sound and ensure that you can hear the nuances in your recordings. Additionally, consider using monitor isolation pads to reduce vibrations and improve sound clarity. Properly setting up your studio monitors is crucial for effective mixing and mastering, as it allows you to make informed decisions about your audio.
What is Acoustic Treatment and Why Do I Need It?
Understanding Acoustic Treatment Basics
Acoustic treatment is an essential aspect of building a home recording studio, as it helps control sound reflections and improve the overall sound quality of your recordings. Unlike soundproofing, which aims to block external noise, acoustic treatment focuses on optimizing the acoustics within your studio. This can be achieved through the use of various materials, such as foam panels, bass traps, and diffusers, which help absorb and scatter sound waves. Understanding the basics of acoustic treatment will enable you to create a more professional-sounding recording environment.
How to Improve Sound Quality in Your Home Studio
Improving sound quality in your home studio involves a combination of proper acoustic treatment and careful placement of your recording gear. Start by identifying problematic areas in your room, such as corners where bass frequencies tend to build up. Installing bass traps in these areas can help mitigate this issue. Additionally, placing acoustic panels on the walls can reduce reflections and flutter echoes, resulting in clearer recordings. Experimenting with the placement of your studio monitors and recording equipment can also lead to significant improvements in sound quality.
Common Acoustic Treatment Solutions for Home Studios
There are several common acoustic treatment solutions that can enhance the sound quality of your home recording studio. Acoustic foam panels are widely used to absorb mid and high frequencies, while bass traps are designed to tackle low-frequency buildup. Diffusers can be used to scatter sound waves, preventing them from bouncing back directly to the microphones. When implementing acoustic treatment, it’s essential to strike a balance between absorption and diffusion to create a well-rounded sound environment. Investing in these solutions will greatly enhance your recording and mixing capabilities.
How to Choose the Right Desk for Your Home Studio?
Factors to Consider When Selecting a Studio Desk
Choosing the right desk for your home studio is crucial for creating an organized and efficient workspace. Consider factors such as size, build quality, and ergonomics when selecting a studio desk. The desk should provide ample space for your studio computer, audio interface, and other recording gear while allowing for comfortable access to your MIDI controller and studio monitors. Additionally, look for desks with cable management features to keep your workspace tidy and free from clutter. A well-designed studio desk will enhance your productivity and comfort while making music.
Best Desk Designs for Music Production
There are various desk designs that are particularly well-suited for music production. L-shaped desks offer plenty of surface area for your equipment and can fit snugly into corners, maximizing space in smaller rooms. Alternatively, a traditional straight desk can work well if you have enough room to accommodate your gear. Some desks are specifically designed for recording studios, featuring built-in racks for audio interfaces and other studio gear. When selecting a desk, prioritize functionality and comfort to create an ideal environment for your music production.
Organizing Your Home Studio Workspace
Organizing your home studio workspace is essential for maintaining focus and efficiency during music production. Start by categorizing your equipment and arranging it in a way that makes sense for your workflow. Keep frequently used items, such as your microphone and MIDI keyboard, within easy reach, while storing less frequently used gear in drawers or shelves. Labeling cables and using cable ties can help prevent tangling and confusion. A well-organized workspace will not only improve your productivity but also make the process of recording and mixing more enjoyable.
What Are the Best Practices for Mixing and Mastering in a Home Studio?
Understanding the Mixing Process in Music Production
Mixing is a critical stage in music production that involves balancing individual audio tracks to create a cohesive final product. Understanding the mixing process is essential for achieving professional-sounding recordings in your home studio. Start by adjusting the levels of each track to ensure that no single element overwhelms the others. Use EQ to carve out space for each instrument in the frequency spectrum, and apply compression to control dynamics and add punch to your mixes. Experimenting with panning can also help create a sense of space and depth in your recordings.
Tips for Effective Mastering at Home
Mastering is the final step in the music production process, where you prepare your tracks for distribution. To achieve effective mastering at home, start by listening to your mix on various playback systems, such as headphones, studio monitors, and even car speakers. This will help you identify any issues that need to be addressed. Use mastering plugins to enhance the overall sound, focusing on EQ, compression, and limiting to achieve a polished final product. Remember that less is often more in mastering; subtle adjustments can make a significant difference in the overall quality of your music.
Using MIDI Controllers and Keyboards for Mixing
MIDI controllers and keyboards are invaluable tools for mixing in a home recording studio. They allow you to control various parameters in your DAW, such as volume levels, panning, and effects, with tactile feedback. This hands-on approach can enhance your mixing experience and make it easier to achieve the desired sound. When selecting a MIDI controller, consider the number of pads, knobs, and faders it offers, as well as its compatibility with your chosen DAW. Incorporating a MIDI keyboard into your mixing process can also inspire creativity and help you develop unique musical ideas.
Additional Reading
More blog posts can be found here. Consider following Breve Music Lessons on Facebook.


